Upgrading your Graphics Card for Improved Performance
Upgrading a graphics card can provide a tremendous performance boost to your PC experience. A new graphics card provides a far greater performance increase for graphics and design work than any other component in your computer, including the processor, as the heavy loads are now lifted by the GPU and not the CPU. The graphics card is like a computer in itself, complete with its own processor and memory.
Placing a new graphics card into a PC which is already four years old can still yield amazing results in games. If your computer is much older, however, it may significantly hold back the performance of a new graphics card. For those who have never upgraded a computer, tampering with the system’s internals may seem a bit daunting. The reality is however, that upgrading a graphics card is a simple process that can normally be done in half an hour or less.
1. Choose the Right Graphics Card. Choose a graphics card that is compatible with your system. The system requirements can be found on the box of any graphics card. Make sure that you have the correct interface available (such as PCI-Express) and a good enough power supply to run the new graphics card. Be sure to check operating system requirements as well as any other hardware requirements.
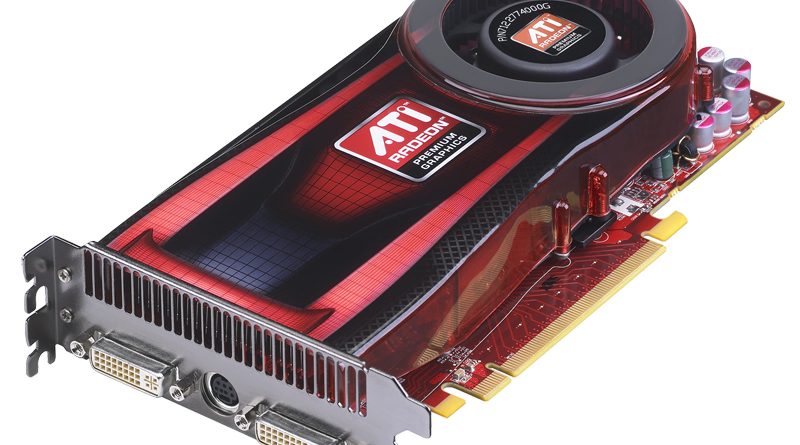
You may also want to stick with the same brand as your existing graphics chip. If you already have a dedicated graphics card, this will either be nVidia or ATI. Before you purchase anything, shortlist some products within your budget range. Read some reviews on the Internet to help you decide which upgrade to go for.
2. Uninstall the Existing Graphics Card Drivers. Boot up into Windows and remove the existing graphics card drivers and any associated software. The process will vary slightly depending on your current setup. If you have a CD which came with the original graphics card, use this and go through any on-screen process to uninstall the existing drivers. The best way to ensure removal of the existing drivers is to go to ‘Uninstall a program’ in the control panel underneath the ‘Programs’ section in Windows.
In Windows XP, go to ‘Add and Remove Programs’ in the control panel. Go through the list and find your graphics card drivers. If you have an nVidia card, it will be under something like ‘nVidia drivers’. If you have ail ATI graphics card, it will be under something like ‘ATI Catalyst drivers’.
If you have an onboard graphics card, this will need to be disabled by going into the BIOS. To access the BIOS, restart your machine and press the correct key to enter setup. Normally this is F2 or Del. The computer should tell you which key to press when you switch on the system. Once you get into the BIOS, you should be able to find a section entitled ‘Integrated Peripherals’ or something similar. Within this section, you should find ail option that allows you to enable or disable onboard graphics or video. If you are having difficulty finding this, refer to the manual for your computer’s motherboard.
3. Install the New Graphics Card. Turn off and unplug your computer. Remove the case cover. If you have an existing graphics card, this will need to be removed first. The graphics card is what the monitor plugs into in the back of the computer. Remove the screw that holds the card in place and gently remove it. Simply slot the new card in, making sure that it is securely fitted.
Replace the screw to attach the graphics card bracket to the back of the case. Most modem graphics cards also require an extra supply of power. There will be one or two six pin sockets on the side of the card which need to have PCI-Express cables from the power supply connected to them. Locate and connect these cables. Once you have done this replace the case cover.
4. Install the New Drivers. Start up the computer. It should boot up as normal. Once you get to the login screen, the resolution will probably be very low and the display quality will be poor. This is perfectly normal. You just need to install the drivers for the new card for it to work correctly. To do this, simply go through the driver installation process from the CD that came with your graphics card. Better still, go to the website of the manufacturer of the new graphics card and download updated drivers. Once the new drivers have been installed, restart the computer.